

Civic underbody rust repair
It all begins with an idea.
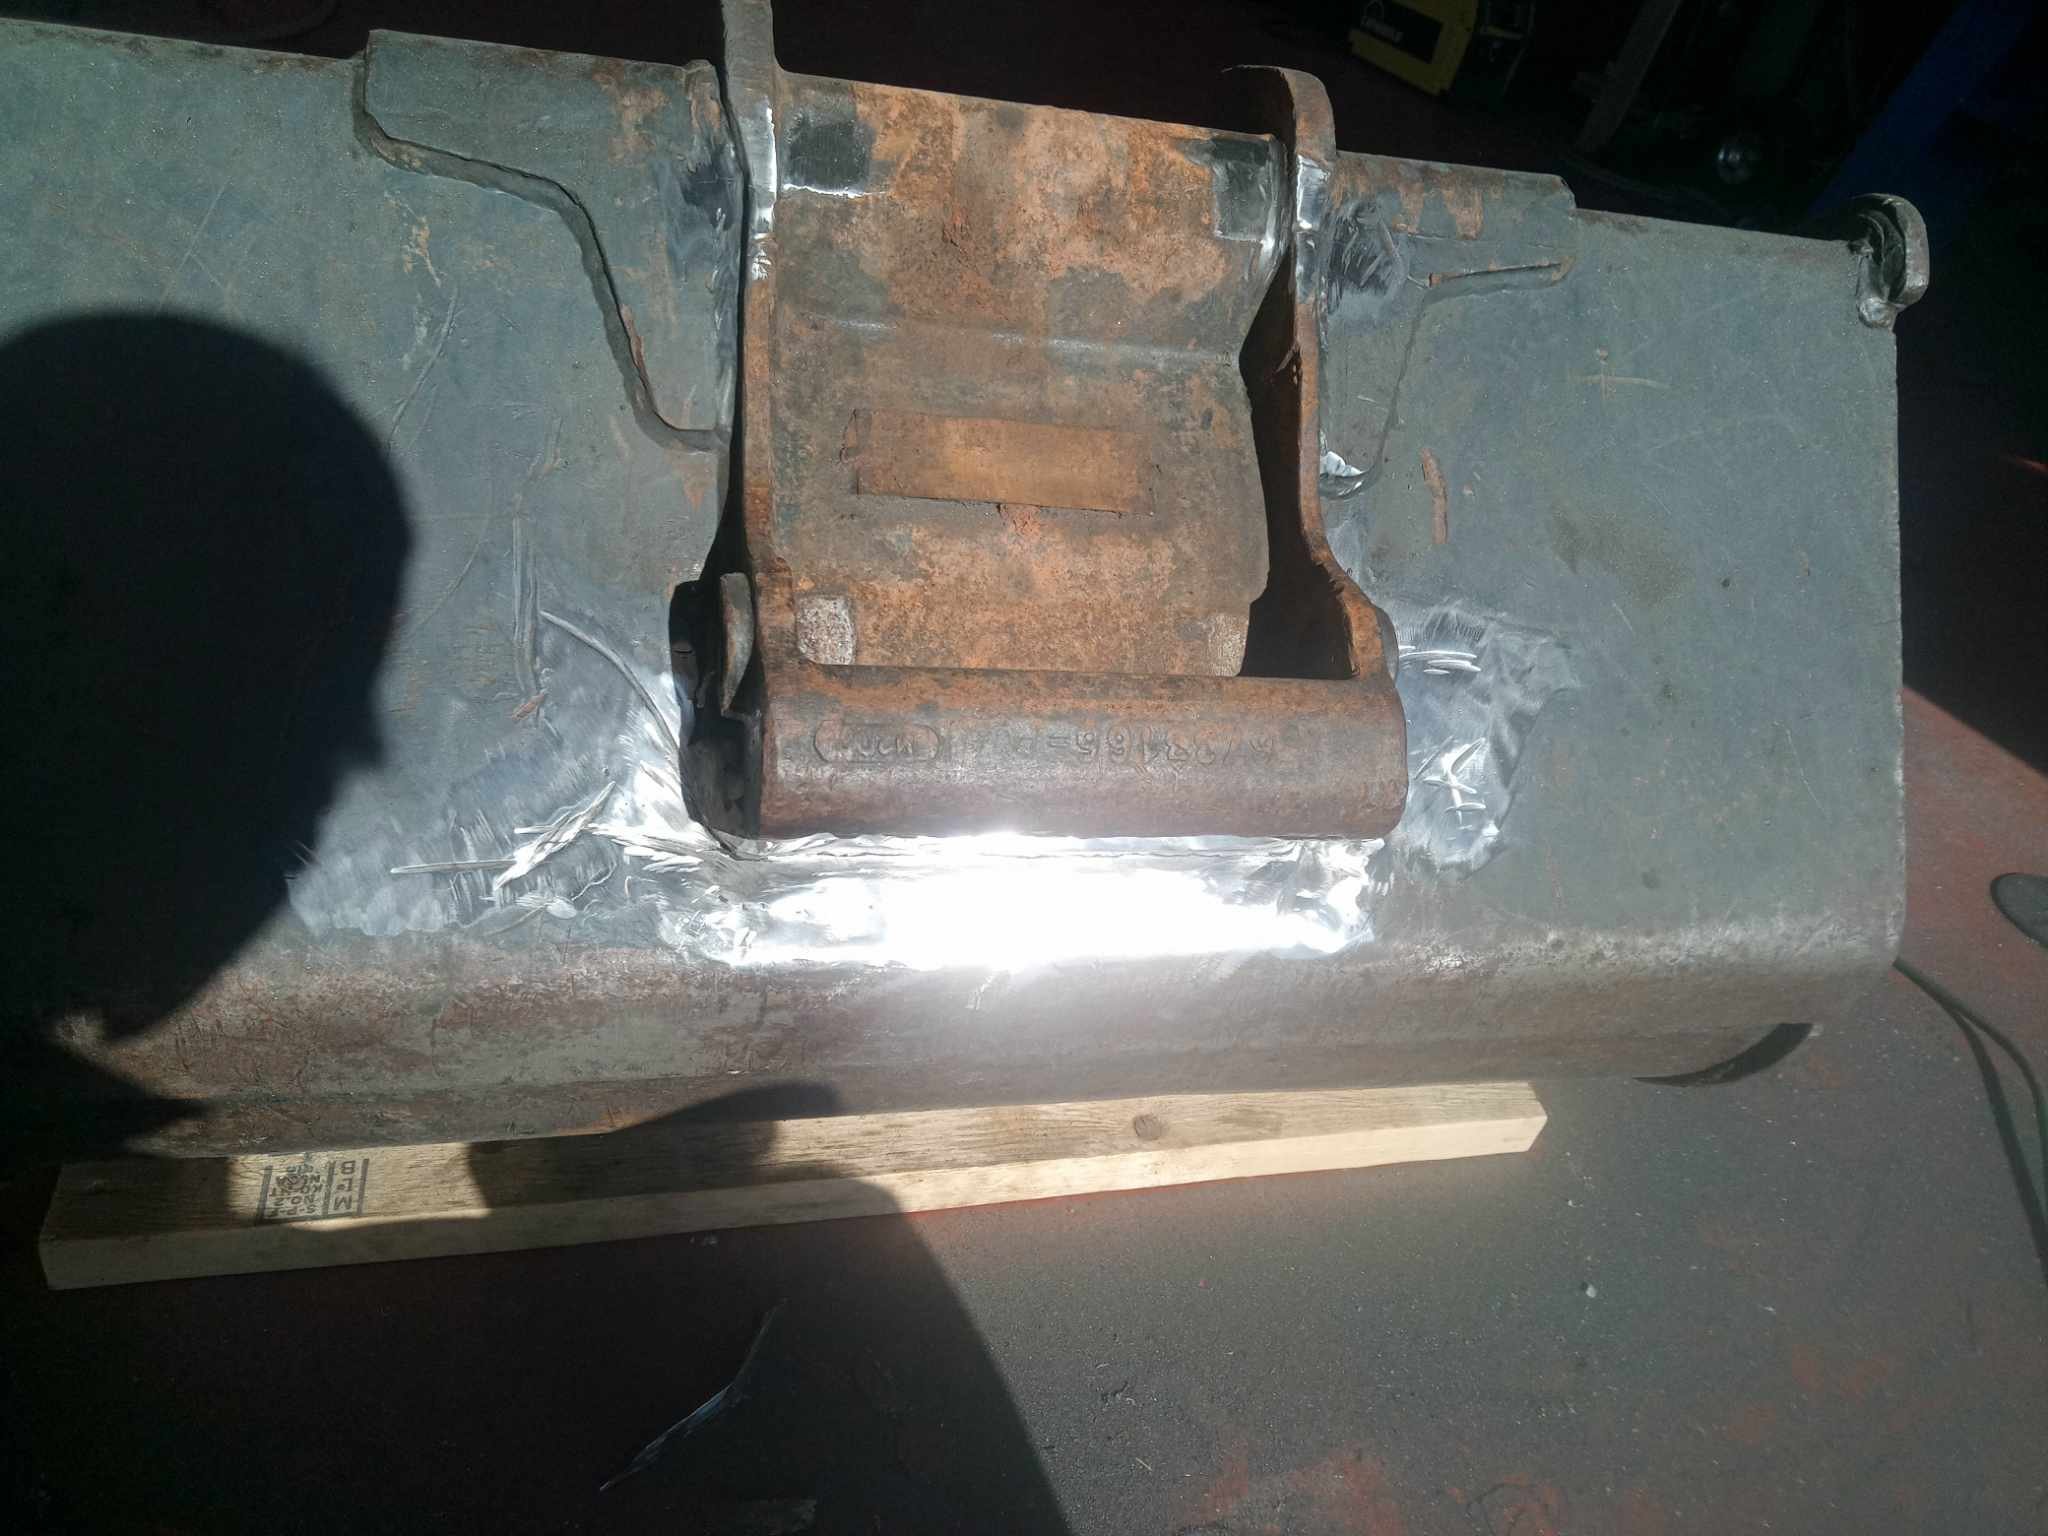
The Civic came to me needing new steel patches installed on both the driver’s and passenger’s sides underbody near the center and outside edge of the underbody.
The first thing I did after getting it into the welding shop, was to unhook the battery, always a good thing to do before welding on a vehicle or even welding on some conveyor systems. Anything that could have some kind of computer on it. The next thing is to get grinding on the rust. In my experience, the trick is to remove as much rust as possible while leaving enough material to weld on. it can be hard to determine at times and make the weld job take longer if material suddenly blows out from being too thin suddenly.
Once I was happy with the “weldable area” I had created I fabricated a patch to match closely from what I could say may have been the original shape. It is important to note customer intent here. I was not asked to replicate a factory finish but to get this car through one more inspection. That being said I wanted to make sure there was new metal where at least from what I could see used to be metal.
My welder is a Canaweld pulse 201-d, I did not feel like having a mental breakdown so I opted out of attempting this job using the welder stick setting, and instead set up TIG. I used Pure argon gas and as of now I can not remember the filler wire diameter but it wasn’t something crazy I wish I had the thinner stuff for this job but alas. As stated earlier I had some very solid areas to weld to, and others were paper thin, for most of the welding I had the welder set up at around 45 amps, and I set the welder as low as 20amps where the old base metal would burn away.
Something of note I thought myself clever at one point in frustration in dealing with the old metal. I have a pulse welder, let’s use that to keep it cool and run a solid pass. That turned out to be a terrible idea mainly for holding an overhead position under a car with little room (no lift for me) and timing the pulse was very straining so I stopped doing that.
Once I had the patches stitched in good I cleaned them off with acetone and primed. I have been trying out Tremclad as its oil-based I just feel like it might be a better-lasting paint, time will tell. At last, I like to use a coat of clear on whatever I do just for that little bit more protection on the paint.

Computer Desk Modification
Custom computer desk modification
This job was brought to me by a friend who needs a specialty bed in their living space. The problem is the current desk would obstruct the new bed’s functionality.
What needed to be done was to move the leg section underneath and flush to the edge of the desk. This Job was not overly complicated, I measured the thickness of the desk itself and removed that much material from the leg near the bottom to better disguise the modification. I also needed to shorten two leg supports as the leg had moved in closer to them, so again I removed the required excess material.
After cutting and grinding the weld areas clean It’s time to fit and weld the leg and supports back together. I used my Canaweld 201 pulse-d TIG welding settings, made sure everything was clamped and flush, and then tacked it together. I then welded all the outside joints and fillet welds last. I primed, tremclad, and clear coated to finish the job.
Excavator bucket repair
Getting to the root of the problem
This job was brought to me by a PEI local landscaper. After much tender loving care, this poor unfortunate bucket got cracked! I know it was devastating news. Good thing I was here to fix it.
The first thing to do was to get to the root of the problem. The only way I know how to do that is to grind away. Grind away I did. Layers and layers of old crack repairs fell to my tenacious grinding. I gouged out spider cracks as they popped up and in the end, took a zip disc to get into the very depths of the crack.
After all that fun and glorious grinding it was time to weld. Personally, if I can TIG weld I will TIG weld. At the moment I am limited to Stick and TIG welding, I know that TIG is a stronger weld than any other processes, and seeing as the bucket was in the shop I figured why not. I got a nice smooth root in with the TIG and proceeded to fill. There was a lot to fill after getting to the root. I filled with TIG for a while but later switched to Stick to speed things along.
One thing I noticed on this job, after welding the bucket for a good while it obviously was getting hot. This was causing little additional spider cracks to pop and show. So I would chase them around and fill them up with weld. Once I could no longer find cracks and the cap passes were done I put on primer, tremclad, and clear to call it done. I feel very silly clear-coating an excavation bucket. But I don’t feel a paint job is done without it and it bothers me otherwise.
I will request regular updates on the bucket as I feel if anything is going to put this paint to the test it will be the bucket.